Opening Description
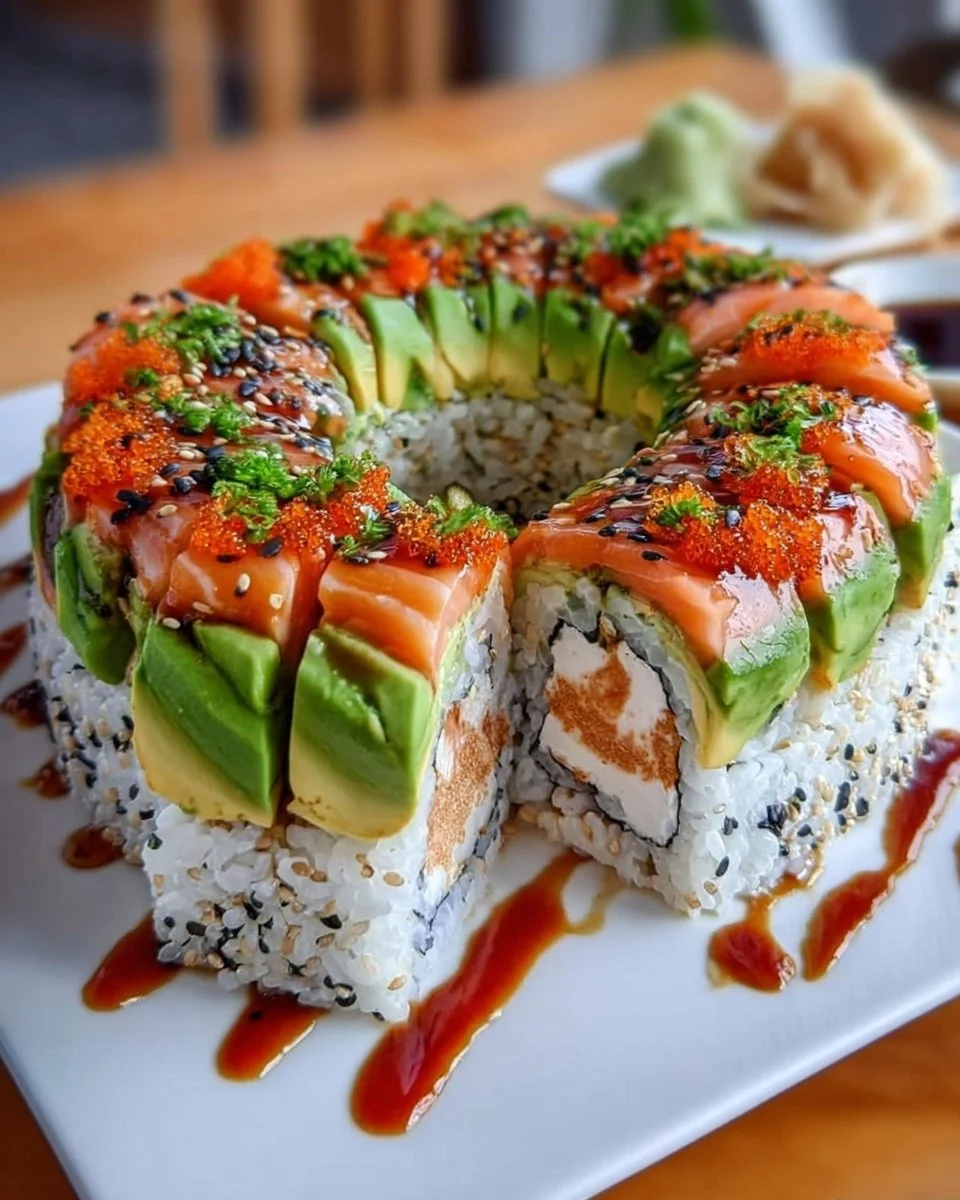
Imagine sinking your teeth into a perfectly crafted sushi roll, where the delicate dance of flavors harmonizes into a symphony of taste with each bite. As the satisfying crunch of fresh vegetables mingles with the velvety creaminess of ripe avocado, your senses awaken to a world of culinary delight. The aroma of seasoned rice, with its hint of rice vinegar, fills the air, transporting you to a bustling sushi bar in Tokyo. Homemade sushi not only showcases your culinary skills but also invites a world of creativity, where you mix and match fresh ingredients to craft rolls that mirror your personality.
Crafting sushi at home wraps you in warmth and nostalgia, as every roll comes with a story of tradition, passion, and cherished moments spent cooking with loved ones. Whether you’re preparing for a cozy dinner or planning a fun-filled gathering with friends, these homemade sushi rolls promise to impress and satisfy even the most discerning palates. The joy lies in the process—each slice reveals a colorful array of ingredients, playfully packaged in the embrace of seaweed. The anticipation builds as you plate these delicious creations, inviting everyone to partake in a delightful culinary adventure.
Why You’ll Love This Homemade Sushi
You’ll absolutely adore making and enjoying this homemade sushi for countless reasons. First and foremost, it’s an extraordinary way to experiment with fresh, vibrant ingredients. Emphasizing health and flavor, you can select high-quality seafood, crisp vegetables, and creamy avocado, turning each roll into a nutritious masterpiece.
This sushi recipe shines during gatherings, allowing you to dazzle your friends or family with your culinary artistry. Think of hosting a sushi-making party, where the fun lies not just in consuming the delicious food, but also in the process of crafting it together. You’ll find joy in the chatter, laughter, and the vibrant colors of various sushi rolls all around. Plus, the versatility in flavors and styles means there’s something for everyone—vegetarians, seafood lovers, and even the adventurous eaters seeking a spicy kick.
Preparation Phase & Tools to Use
To embark on your homemade sushi journey, gather a few essential tools that will elevate the experience:
- Bamboo Sushi Mat: This helpful tool provides structure while rolling your sushi, ensuring each piece is perfectly formed.
- Sharp Knife: A good, sharp knife simplifies the task of cutting through your rolls, giving clean, precise slices for an appetizing presentation.
- Rice Cooker: While making sushi rice on the stove is possible, a rice cooker streamlines the process, giving you perfectly sticky rice every time.
- Shallow Dish: This will hold your seasoned rice and prevent it from sticking to your hands while rolling.
Before you start, ensure that your workspace is clean and organized. Prepare all your ingredients ahead of time, so you can stay focused on the fun part—rolling and creating!
Ingredients for Homemade Sushi
Creating your sushi masterpiece begins with a harmonious selection of fresh ingredients:
- Sushi Rice: The foundation of amazing sushi, seasoned with rice vinegar, sugar, and salt for a balanced flavor.
- Nori (Seaweed Sheets): Essential for holding everything together, nori adds that signature umami flavor.
- Filling Options: Choose from fresh fish like tuna, salmon, or shrimp; or opt for an array of colorful vegetables such as cucumber, bell pepper, and avocado.
- Soy Sauce: A delicious dipping companion that enhances the overall sushi experience. You can also try tamari or coconut aminos for a gluten-free option.
Feel free to mix and match based on your preferences. If you want to go vegetarian, replace fish with roasted sweet potato or marinated tofu for a delightful twist.
How to Make Homemade Sushi
Creating your sushi roll is an exciting journey! Follow these step-by-step instructions to craft delicious sushi at home:
-
Prepare the Sushi Rice: Rinse 1 cup of sushi rice under cold water until the water runs clear. Cook according to your rice cooker instructions. Once cooked, transfer to a bowl, and gently mix in 2 tablespoons of rice vinegar, 1 tablespoon of sugar, and a pinch of salt. Let it cool slightly.
-
Gather Your Ingredients: Once your rice is ready, lay out your fillings—sliced veggies and fish—and place your bamboo mat on the counter, with the bamboo slats running horizontally.
-
Assemble the Roll: Place a sheet of nori on the bamboo mat. Moisten your hands (to prevent sticking) and take a handful of sushi rice, spreading it evenly over the nori, leaving about a 1-inch margin at the top.
-
Add Your Fillings: Layer your desired fillings across the middle of the rice. If using multiple fillings, think about balance and colors.
-
Roll It Up: Grasp the edge of the mat closest to you and roll it over the fillings tightly, using your fingers to keep the fillings in place. Continue rolling until you reach the exposed edge of the nori, which should seal the roll.
-
Cutting the Roll: With your sharp knife, slice the roll into bite-sized pieces. Clean the knife between cuts with a damp cloth for clean slices.
-
Serve and Enjoy: Arrange your sushi on a platter, garnish with pickled ginger and wasabi, and serve with soy sauce.
Chef’s Notes & Helpful Tips
-
Make-Ahead Tips: Prepare your sushi rice early and store it in the refrigerator. It’s best served fresh, but you can prepare your fillings in advance and assemble them quickly before serving.
-
Cooking Alternatives: If you lack a bamboo mat, a parchment paper or a clean kitchen towel can work in a pinch. For a different flavor, try using smoked salmon or even pickled vegetables!
-
Customization Ideas: Elevate your sushi with unique ingredients like cream cheese, spicy mayo, or even pomegranate seeds for a burst of flavor and color.
Common Mistakes to Avoid
Crafting sushi can be tricky, especially for newcomers. Here are some common pitfalls and how to dodge them:
-
Rinse the Rice: Always rinse sushi rice thoroughly before cooking. Skipping this step can lead to overly sticky rice that doesn’t roll well.
-
Don’t Overfill: It’s tempting to pile on the fillings, but overstuffed rolls are difficult to seal and cut. Less is sometimes more.
-
Sharp Knife: Using a dull knife will crush your beautiful rolls, creating a muddled mess. Always ensure your knife is sharp for clean, elegant slices.
What to Serve With Homemade Sushi
Complement your sushi with these pairing ideas, enhancing your dining experience:
- Miso Soup: A warm, savory starter that pairs perfectly with sushi’s fresh flavors.
- Edamame: Lightly salted and always a crowd-pleaser, it adds a fun crunch.
- Seaweed Salad: Brings a delightful variation in texture and a refreshing taste.
- Pickled Ginger: A palate cleanser that enhances the sushi experience.
- Wasabi: Add a spicy kick for those who love heat.
- Green Tea: The perfect drink, pairing beautifully with sushi’s delicate flavors.
- Tempura: Lightly battered and fried vegetables or shrimp create a great contrast to fresh sushi.
Storage & Reheating Instructions
Sushi is best consumed fresh but can last in the refrigerator for up to 24 hours, well-wrapped to prevent drying out. For optimal freshness, do not freeze sushi, as the texture alters unfavorably. If you find yourself with leftover sashimi or fish, you can safely store them in the fridge for a day or two if they were fresh to begin with.
Estimated Nutrition Information
Each serving of homemade sushi contains approximately:
- Calories: 200-300 (depending on fillings)
- Protein: 10-15g
- Fat: 5-10g
- Carbohydrates: 40-50g
These values are approximate and depend on your specific ingredients and serving sizes.
FAQs
-
Can I use regular rice for sushi?
Sushi rice is essential for the right texture. Short-grain, sticky rice types are key to achieving that delightful chewiness. -
Is homemade sushi safe?
Absolutely! When using high-quality fish and handling ingredients with care, homemade sushi can be very safe. Consider purchasing fish marked as "sushi-grade" for peace of mind. -
What if I can’t find nori?
You can substitute rice paper or make sushi bowls with the ingredients served over rice, for those who prefer a deconstructed approach. -
How can I make the rice less sticky?
Ensure to rinse the rice thoroughly before cooking and adjust the water ratio if needed. An extra splash of rice vinegar can also help. -
Can I make sushi without fish?
Yes! You can easily switch to vegetables, tofu, or cooked proteins to make delicious sushi rolls.
Conclusion
Creating homemade sushi is not just a meal; it’s an unforgettable experience filled with flavor, creativity, and companionship. With these simple techniques and tips, you can craft exquisite rolls that will delight your friends and family. Embrace the joy of making sushi at home, and revel in the warmth of sharing your delicious creations with those you cherish. So roll up your sleeves, invite your loved ones, and dive into the adventure of sushi-making—your taste buds will thank you!
Print
Homemade Sushi Rolls
- Prep Time: 20 minutes
- Cook Time: 30 minutes
- Total Time: 50 minutes
- Yield: 4 servings 1x
- Category: Main Course
- Method: Rolling
- Cuisine: Japanese
- Diet: Vegetarian
Description
Craft delicious homemade sushi rolls with fresh ingredients for a fun culinary adventure.
Ingredients
- 1 cup Sushi Rice
- 2 tablespoons Rice Vinegar
- 1 tablespoon Sugar
- Pinch of Salt
- Nori (Seaweed Sheets)
- Filling Options (tuna, salmon, shrimp, cucumber, bell pepper, avocado)
- Soy Sauce
Instructions
- Prepare the Sushi Rice: Rinse 1 cup of sushi rice under cold water until the water runs clear. Cook according to your rice cooker instructions. Once cooked, transfer to a bowl, and gently mix in 2 tablespoons of rice vinegar, 1 tablespoon of sugar, and a pinch of salt. Let it cool slightly.
- Gather Your Ingredients: Once your rice is ready, lay out your fillings—sliced veggies and fish—and place your bamboo mat on the counter, with the bamboo slats running horizontally.
- Assemble the Roll: Place a sheet of nori on the bamboo mat. Moisten your hands (to prevent sticking) and take a handful of sushi rice, spreading it evenly over the nori, leaving about a 1-inch margin at the top.
- Add Your Fillings: Layer your desired fillings across the middle of the rice. If using multiple fillings, think about balance and colors.
- Roll It Up: Grasp the edge of the mat closest to you and roll it over the fillings tightly, using your fingers to keep the fillings in place. Continue rolling until you reach the exposed edge of the nori, which should seal the roll.
- Cutting the Roll: With your sharp knife, slice the roll into bite-sized pieces. Clean the knife between cuts with a damp cloth for clean slices.
- Serve and Enjoy: Arrange your sushi on a platter, garnish with pickled ginger and wasabi, and serve with soy sauce.
Notes
For best results, rinse the rice thoroughly and avoid overfilling your rolls. Store sushi rolls well-wrapped in the refrigerator for up to 24 hours.
Nutrition
- Serving Size: 1 roll
- Calories: 250
- Sugar: 1g
- Sodium: 500mg
- Fat: 6g
- Saturated Fat: 1g
- Unsaturated Fat: 4g
- Trans Fat: 0g
- Carbohydrates: 40g
- Fiber: 2g
- Protein: 10g
- Cholesterol: 15mg